← All Tutorials
Iperius Disk Cloning: Free Hard Disk Cloning Program
Iperius Disk Cloning is a free hard disk cloning program, available within the Iperius Recovery Environment®.
To learn how to create a disk or a bootable USB drive with Iperius Recovery Environment, you can check out the dedicated tutorial.
Iperius Disk Cloning Utility: a free application for disk cloning that allows disk-to-disk cloning, creating an exact copy of the source disk to the destination disk. It is a free program to clone hard disks, ideal for transferring the operating system to a larger disk or cloning hard disks to SSD.
In this tutorial, we will focus on disk cloning, showing how to perform the cloning process from one disk to another.
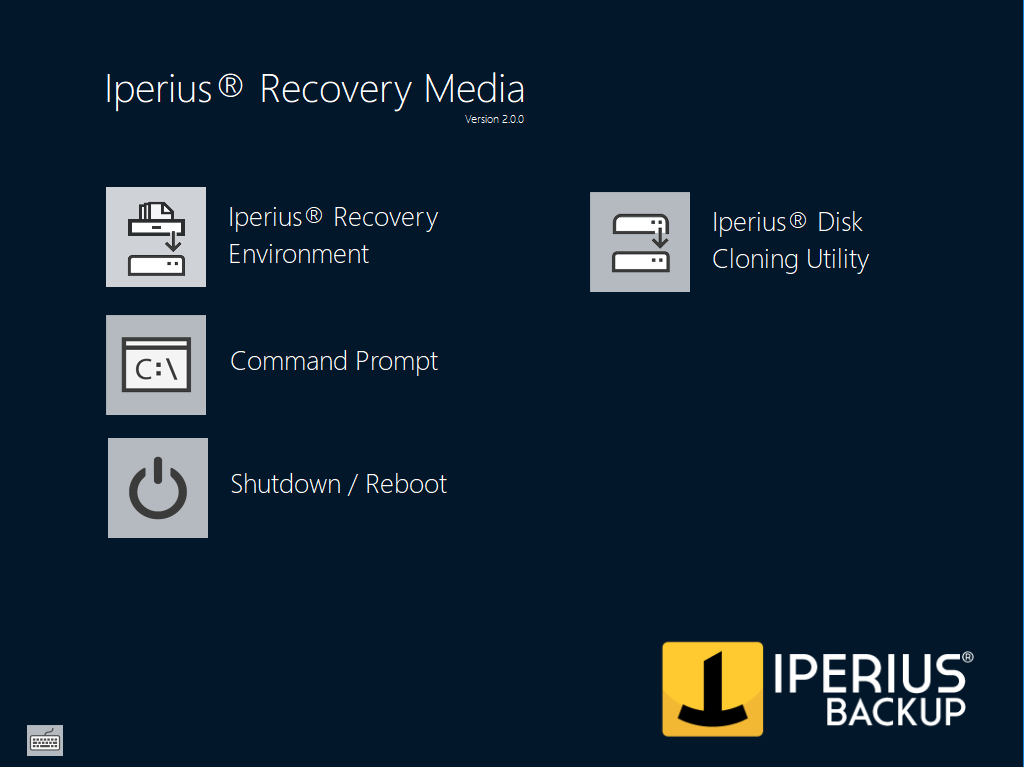
1) Launch Iperius Disk Cloning Utility
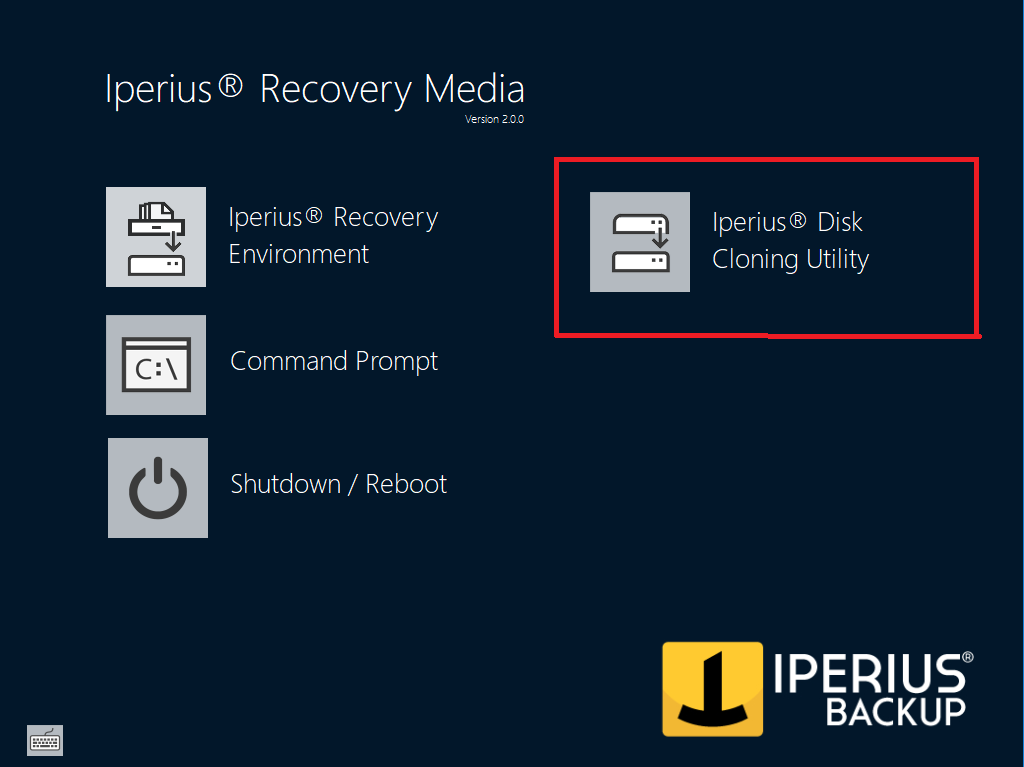
After launching Iperius Recovery Environment from a USB stick or optical media (CD or DVD), click on the “Iperius Disk Cloning Utility” icon (highlighted in red in the image above) to open the cloning utility interface.
2) Selection of Source and Destination Disks
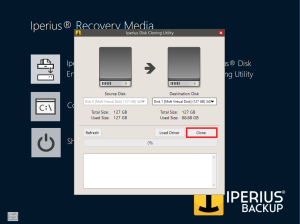
After launching Iperius Disk Cloning Utility, you will see a window like the one in the image below:
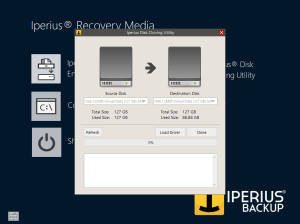
This utility has a simple and clear interface where you can choose the source disk (on the left) and the destination disk (on the right).
For each disk selected, its total size and used space will be shown.
Additionally, you will find three buttons corresponding to the following functionalities:
– Refresh: to update the list of disks;
– Load Driver: to load a .inf driver in real-time and display devices requiring specific drivers (RAID controller, SCSI, etc.);
– Clone: to start cloning from the source disk to the destination disk.
3) Selecting the Source Disk
By clicking the dropdown menu on the left under “Source Disk,” the list of disks connected to the system will appear, where you can select the disk to clone (see the image below):
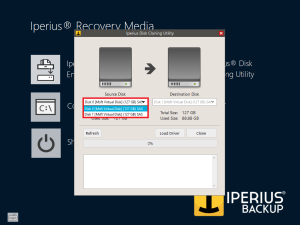
Once you have selected the disk, click on it to apply the selection.
4) Selecting the Destination Disk
By clicking the dropdown menu on the right under “Destination Disk,” you will see the list of available disks, excluding the one already selected on the left (you cannot clone a disk onto itself!), as shown in the image below:
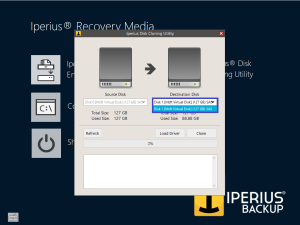
Choose the destination disk, making sure that its capacity is at least equal to or greater than the source disk, and click on it to apply the selection.
5) Starting the Cloning Process
At this point, simply click the “Clone” button to start the process.
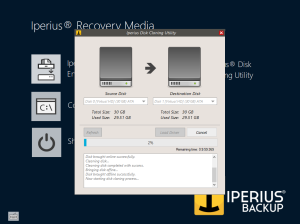
In the box below the progress bar, some steps of the cloning process will be described, while on the right there will be a timer indicating the remaining time to complete the cloning.
Once finished, close the Iperius Disk Cloning Utility window and restart or shut down the PC using the appropriate button on the main recovery environment screen.
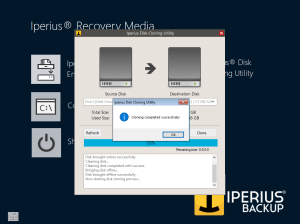
In this tutorial, we have seen how to perform a disk-to-disk cloning in a few simple steps, creating an identical copy of the source disk.
Iperius Disk Cloning Utility is a powerful tool for backing up disks to other disks easily. You can clone hard disks directly connected to the machine or even USB disks.
This feature is provided free of charge by Iperius.
Iperius Disk Cloning Utility is free software for cloning hard disks, perfectly complementing Iperius’ wide range of backup and data protection solutions.
Iperius is also ideal for performing disk image backups and bare-metal restores securely and simply. Iperius is also an essential tool for converting physical machines to virtual machines (P2V). See the related tutorial: Disk Image Backup.
For any questions or doubts regarding this tutorial,
Contact us